
Making your own candles by yourself is an amazing craft. Candles bring light and fragrance into a room. There are materials needed to make candles at home and there are steps to follow as well. For you to have the best homemade candles for decorative home or as a special gift for your friend you require wax, a candle mold, a wick and fragrance of your choice and color if needed.
Candles add a masculine or romantic ambiance to the room. They can also be very thought-provoking and meditative. In ancient times, candles were used as a source of light and even today. They are actually not a necessity in current times but to add beauty. Homemade candles are readily available and affordable and can be made to look and light fairly as the expensive ones.
Requirements for homemade candles
You will need a few supplies and tools for you to get started in making homemade candles. It is not expensive to start the process and the following are the basic requirements for you to get started with making the cheapest candles at home. Below are the basic requirements for homemade candles:
Wax
Wax is known to be the heart of the candle and there are three primary types one can choose from and they feature the following:
Paraffin: Paraffin is the tradition wax that has been used in candle-making for ages and remains to be popular up to today. It is affordable and readily available and you can easily add other ingredients like colors and scents. The bad side of it is that it is a petroleum product and is toxic.
Soy: Soy is a new name in candle-making and is becoming popular. It was introduced in the 90s and is basically made with soybean oil and sometimes with a blend of paraffin and addition of other wax products like palm, bees, and others. Like paraffin, it is easy to add colors and scents.
Beeswax: Bee wax is the oldest and natural ingredient in candle-making and can be traced bin the great pyramids of Egypt. Bee wax generally is a by-product of the honey-making process made by bees. It is naturally golden in color and a subtle natural pleasing scent. It doesn’t require a lot of additives to make it a fully made homemade candle. It is also hard to add other ingredients to it because of its natural scent which tends to interfere with any other additive. It is the most expensive option as well.
You will find most of the waxes in the form of the pellet so it becomes easier to use it when making candles. Sometimes it can be in block form so that you simply use a knife or any other sharp object to slice it into manageable chunks.
Wicks
Wicks are also basic requirements in candle-making as it is what makes it to light. Choosing the right wick is important. Choose the right size depending on the size of the candle. Larger candles require larger wicks.
Fragrance oils
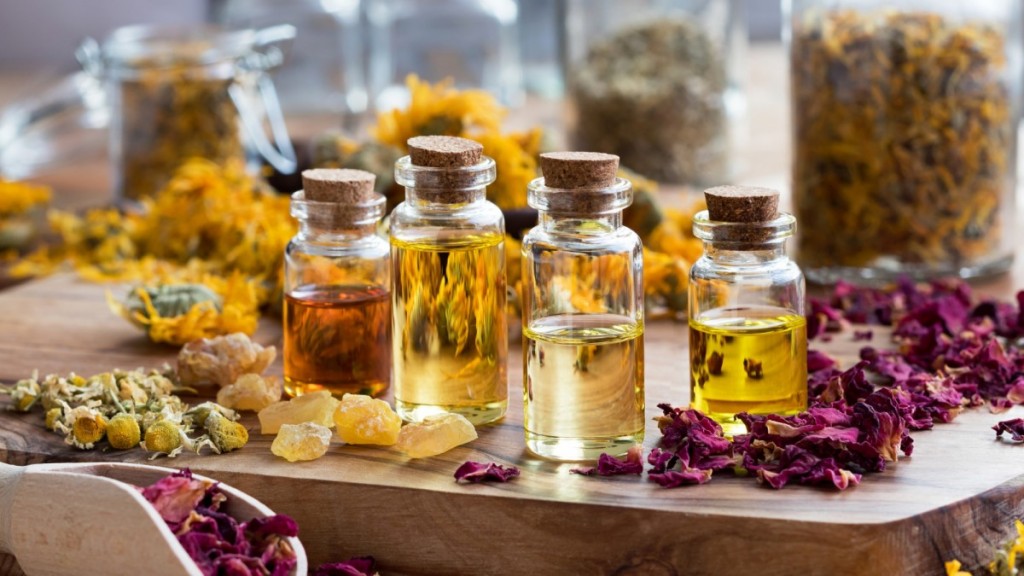
Sometimes ignored fragrance oils are important requirements if at all you want to light up your room with a pleasing aroma. They come in a thousand different types of scents to choose from. Sometimes it is possible to use essential oils but you might not have the exact required end product.
Double boiler
A double boiler or a universal boiler is important in the process of candle-making. The universal boiler is cheaper and easy to use. The boiler generally is helpful in melting the wax and brings great results.
Containers: Mugs, glassware, mason jars or any container that can withstand heat can be transformed into a container and act as candle making kits.
Accessories: Accessories like the thermometer, spatula, old pens and many more can be added tools in candle-making. A thermometer, for example, helps you to take the temperature of the wax. There is a required temperature to maintain during the process. Most waxes for candle making have specifications about the required temperature to add fragrance when to pour into a container and much more. A spatula or spoon can be used to stir up the entire wax, breaking it into smaller chunks.
The process of making a container candle

Below are guidelines which are helpful in making container candle:
Prepare the work are
Wax is messy when dealing with it and requires a dedicated area for working. When melted, wax can easily drop anywhere even though it isn’t hard to clear. Protect the area you are working with newspaper or paper towels. Prepare all required tools and equipment to make the process continuous and easier.
Preparing the wax for melting
Slice all the wax into manageable chunks or shavings as smaller chunks of wax melt easily as compared to larger ones. Smaller chunks assure you that the wax melts evenly. Fill the pot halfway through with water. There should be enough space to accommodate a smaller container.
Melting the wax
Place the wax in a smaller and heat-resistant container and place it in the larger pot. When the wax is boiled directly it will evaporate or catch fire. Turn the heat on to start boiling the water. As the water boils, the wax starts boiling slowly. It takes approximately 10-15 minutes for the wax to melt. The temperature should be between 160 and 170 degrees and if it goes higher than that, turn off the heat.
Use a thermometer to monitor the temperature of the wax. Different waxes have different temperature requirements for heat. Paraffin requires a melting point between 122 and 140o. Soy wax should be melted until it reaches between 170 and 180o. Beeswax should be melted for approximately 145o but can go higher but not more than 175o. When using old candles, melting should be around 185o and old wicks can be removed with tongs.
Add scent to melted wax
When the wax is melted, add your favorite scent and stir to mix it evenly. Each wax is different and has different requirements. Most of the waxes bought for making candles at home have instructions and act as guidelines of what is required.
Add color
Oil-based dyes are perfect for candle-making and not normal food coloring. Follow instructions on the container for the proper amount of dye to be mixed into the wax for better results. Stir well until it is evenly distributed with the wax.
Secure the wick
Place the wick in the center of the candle mold which can be tins, jars, coffee mugs or any appropriate container. The wick should be rightly positioned at the center of the container and secured on a pen or stick for a few minutes until the wax is completely dry.
Cool and pour the wax into the container
After adding fragrance and color, let the wax cool for a while and then pour it into a container. The required temperature of pouring the wax into the container is between 130-140 degrees. This temperature is perfect as it doesn’t take long to dry. When pouring the wax into a container, make sure the wick stays at the center.
Allow it to cool then top off
When the wax in the container cools, it tends to sink in the middle. When it is fully cooled for hours, re-heat the wax left in the boiler and top off the candle to clear the sinkhole.
Trim the wick
Trim the few inches of the wick sticking up from your homemade candle. You definitely want your candle to burn smoothly and slowly.
Clean up
Don’t forget to clean up the mess of the wax that might have spilled around your working area, in the boiler, on your tools, etc. the easiest way is to clean the wax when it is in liquid form using a paper towel.

Explore Astrology Readings with Tejashree
Personal Vedic astrology consultations are available for those seeking deeper insight into their life path.
https://www.fiverr.com/s/xX3gyKX
- Amatyakaraka in Vedic Astrology: Meaning & Career Analysis (D9, D10) - April 3, 2026
- Atmakaraka in Vedic Astrology – Soul Purpose & Navamsa Insights - March 25, 2026
- Moon Rashi in Vedic Astrology: Mind & Emotions Explained - March 21, 2026
0 Comments